
If you’re embarking on a kitchen renovation or remodeling project, assembling new cabinetry can be an exciting yet daunting task. Whether you’re a DIY enthusiast or plan to hire a professional, proper assembly is critical for achieving a functional and aesthetically pleasing kitchen.
To bring your vision to life, we’re here to offer practical tips and expert advice to help you navigate the process of assembling kitchen cabinets. From measuring and planning to installation and final touches, we will cover all aspects of the assembly process, including the needed tools and common pitfalls to avoid.
Also of note is our helpful general assembly video library, which walks you through a step-by-step instruction for installing all types of RTA cabinets.
Let’s dive in and get those gorgeous new cabinets in place!


What tools will you need to assemble your cabinets?
If you’re going to attempt the assembly on your own, installing kitchen cabinets typically requires a range of tools. Here is a list of suggested tools that you may need during installation:
Cordless drill
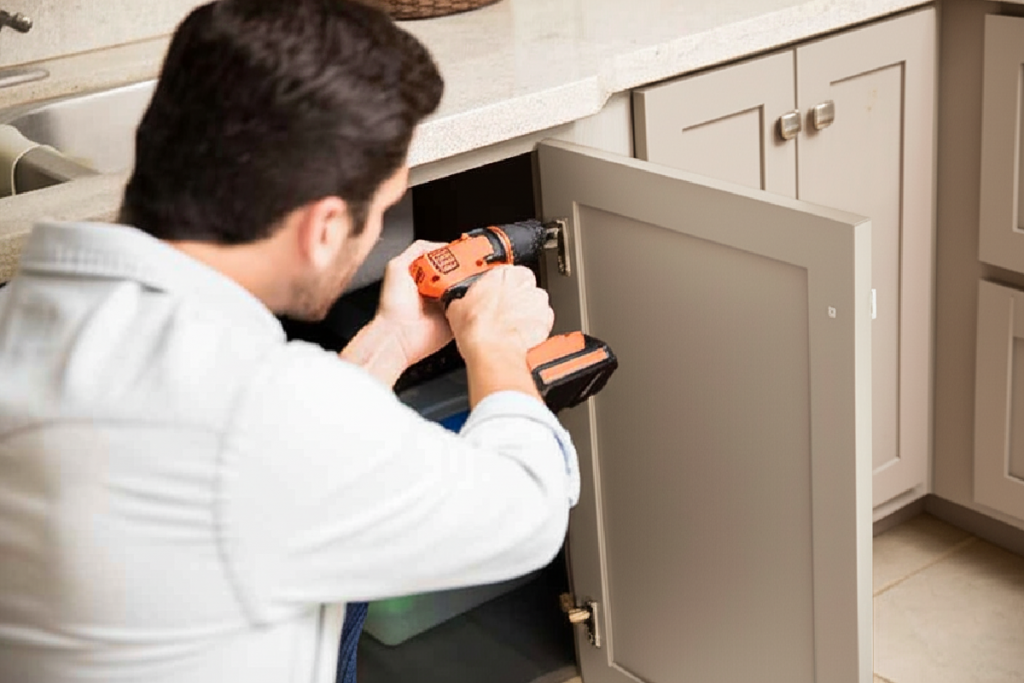
For all RTA cabinets, you will need to screw the various pieces together to assemble the finished structure using a cordless drill, as well as to secure the cabinet in place.
Measuring tape
This tool will make it easy to measure the cabinet’s height, the wall, and any other dimension information needed during the installation process for optimal accuracy.
Stud finder
To locate the studs in your wall(s), you’ll need to use a stud finder. You can then use the studs to anchor the new cabinets and bear their weight.
Screws and nails
Of course, you’ll need finishing screws and/or nails to complete the installation and fasten together the pieces of the cabinet.
Level
To properly align your cabinets, using a 4 or 6-foot level will help you achieve the right spanning gaps between your countertops or other areas of the kitchen (such as the sink) and your new cabinets.
While these are the basic tools you’ll undoubtedly need for your cabinet installation, additional tools that can also be useful include:
- carpenter’s square
- shims
- masking tape
- wood glue
- safety glasses
- laser level
- hammer

Step-by-Step Assembly Process
While exact steps vary slightly by cabinet type, most ready-to-assemble cabinet installations follow this general sequence:
- Unpack and inventory your pieces. Lay out all panels, hardware, and fasteners for one cabinet at a time so nothing gets lost or mixed up between boxes.
- Measure and mark your layout. Use your measuring tape and level to mark where each cabinet will sit, including the high point of the floor — this becomes your reference line for wall cabinets.
- Locate and mark wall studs. Run your stud finder along the marked layout line and mark stud centers so you know where to anchor.
- Assemble the cabinet box. Following your cabinet’s instructions (or the BILT app, if you purchased Quick Ship cabinets), join the side panels, back, top, and bottom using the provided fasteners and your cordless drill.
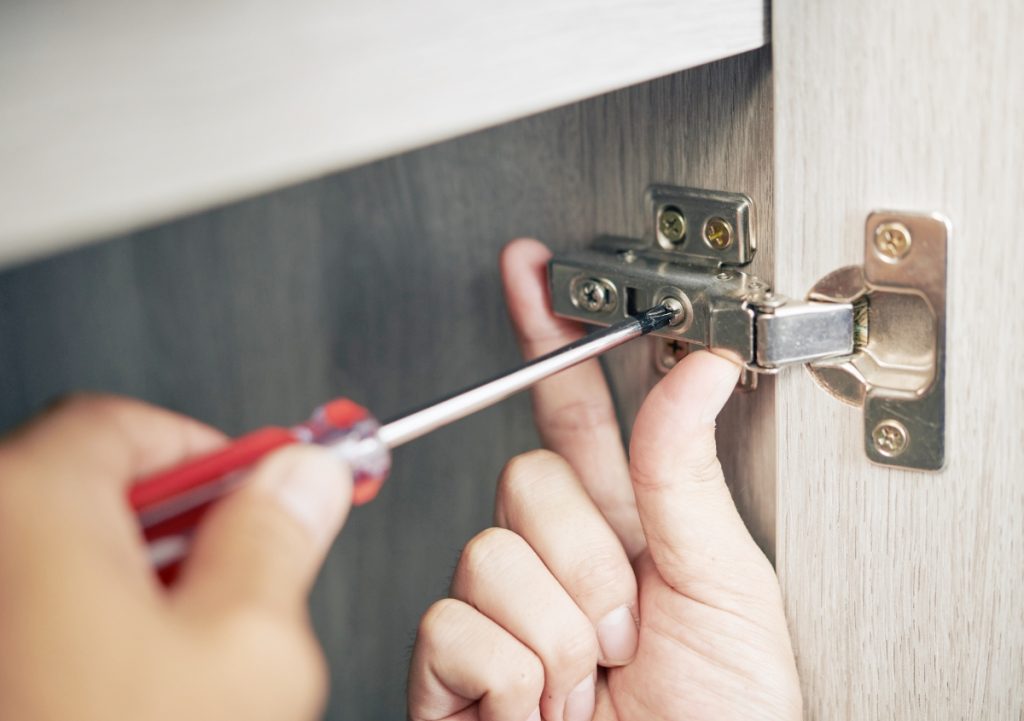
- Attach face frames, doors, and drawers. Secure hinges and drawer slides before standing the cabinet upright, which is easier than aligning them once the cabinet is in place.
- Set and secure base cabinets first. Position base cabinets along your layout line, check level and plumb, and screw into studs.
- Hang wall cabinets. With a helper or temporary ledger board supporting the weight, align wall cabinets to your reference line and secure into studs.
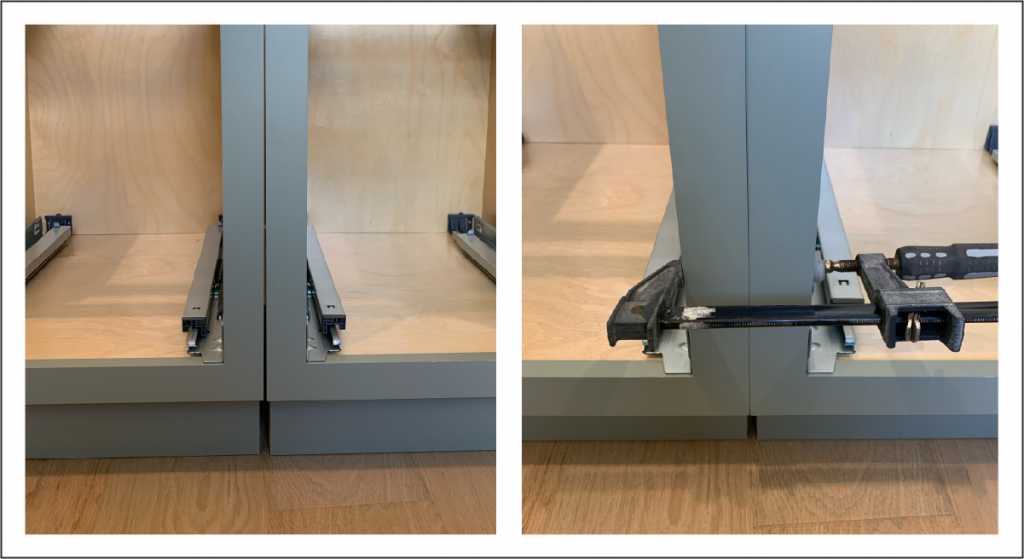
- Join adjacent cabinets together. Clamp face frames or cabinet sides flush before screwing them to each other for a seamless run.
- Add final touches. Attach cabinet hardware (knobs/pulls), fill any visible gaps with shims, and do a final check of all doors and drawers for smooth operation.

Common pitfalls to avoid during installation
Installing kitchen cabinets can be a challenging task, and it’s important to avoid common pitfalls that may arise during the process. Here are some pitfalls to watch out for during cabinet installation
Not measuring accurately
Accurate measurements are crucial for proper cabinet installation. If you don’t measure the cabinets accurately, this can result in cabinets that are not level, plumb, or aligned properly, which can affect the overall appearance and functionality.
Not locating and securing to studs
Kitchen cabinets need to be securely anchored to wall studs for stability and safety. Failing to locate and attach your cabinets to studs can lead to sagging or falling cabinets, which of course nobody wants!
Over-tightening or under-tightening screws
When attaching cabinets to the wall or to each other, it’s important to use the right amount of force. Over-tightening screws can damage the cabinets or strip screw holes, while under-tightening them can result in loose and unstable cabinets.
Rushing the installation process
Cabinet installation requires careful planning, measurement, and attention to detail. Rushing the process will only lead to mistakes, misalignments, and other issues that may affect the final outcome.

Should you assemble your cabinets yourself or hire a professional?
Both approaches can get you a great result — the right choice depends on your comfort level with tools, your timeline, and the scope of your project.
DIY makes sense if you:
- Are comfortable using a drill, level, and stud finder
- Have time to work through the process carefully rather than rushing
- Are installing a smaller run of cabinets, like a single vanity or a wall of upper cabinets
Hiring a professional makes sense if you:
- Are assembling and installing a full kitchen’s worth of cabinetry
- Have an irregular layout, load-bearing considerations, or need to work around existing plumbing/electrical
- Would rather have warranty-backed installation work
Other resources to make installation a breeze
At RTA Cabinet Store, we want to make sure your installation is as seamless and stress-free as possible. If you’ve selected one of our products for your new kitchen cabinets, we offer several available resources to assist you during the installation, including:
- Our general assembly video library, which provide easy-to-follow step-by-step videos depending on the type of cabinet you’re looking to install
- Our detailed frequently asked questions, which lists and responds to our customers’ most-asked questions during installation

Frequently Asked Questions
Do I need special tools to assemble RTA cabinets? Most RTA cabinet assembly can be done with common tools you may already own: a cordless drill, tape measure, level, and stud finder. A few specialty items — like a carpenter’s square or laser level — can make the job easier but aren’t strictly required.
Can I assemble kitchen cabinets myself, or should I hire a professional? Many DIYers successfully assemble and install their own RTA cabinets, especially for smaller projects like a bathroom vanity or a single wall of cabinets. Larger or more complex kitchens, or installations involving structural, plumbing, or electrical considerations, are often better suited to a professional installer.
What’s the most common mistake people make installing cabinets? The most common issues are inaccurate measurements and failing to anchor cabinets into wall studs. Both can lead to cabinets that are misaligned, unstable, or unsafe, so it’s worth double-checking your layout and stud locations before securing anything permanently.
Does RTA Cabinet Store provide assembly instructions? Yes. RTA Cabinet Store offers a general assembly video library covering step-by-step installation for all cabinet types, and the BILT app provides interactive 3D assembly instructions for Quick Ship cabinets.
What if I have questions during installation? RTA Cabinet Store’s FAQ page covers the most common installation questions, and additional support is available directly from the RTA Cabinet Store team.
Ready to see how easy installing your new kitchen cabinets can be? Check out our 3D assembly instructions now.